Table of Contents
Introduction
In the sunny, storm-prone region of Welaka, Florida, homeowners often face challenges with their metal roofs, especially when it comes to maintaining the integrity of seams. Metal roofing is popular in this area due to its durability against heavy rains, high winds, and intense UV exposure. However, over time, seams—the critical joints where panels meet—can develop leaks, cracks, or separations due to thermal expansion, weathering, or installation issues. The question on many Welaka residents’ minds is whether it’s possible to repair a metal roof seam without resorting to a costly and disruptive full panel replacement. This article explores the feasibility of such repairs, offering practical guidance for DIY-savvy homeowners while emphasizing safety and when professional help might be necessary. By understanding the repair process, you can potentially extend the life of your roof and save significant expenses.
Understanding Metal Roof Seams
Metal roof seams are the longitudinal edges where adjacent panels overlap and are joined together, typically using mechanical fasteners, sealant, or welding techniques. In standing seam metal roofs, common in Welaka’s residential areas, these seams are raised and crimped for both aesthetic appeal and water resistance. The design allows for expansion and contraction without compromising the structure, which is essential in Florida’s fluctuating temperatures. However, exposure to the elements—salt air from nearby waterways, frequent downpours, and occasional hurricanes—can degrade the protective coatings on the metal, leading to corrosion at the seams. It’s crucial to differentiate between types of seams, such as snap-lock or mechanically seamed, as repair approaches may vary. Knowing your roof’s specific configuration is the first step in determining if a targeted repair is viable, avoiding unnecessary panel swaps that could cost thousands.
Common Issues with Metal Roof Seams
Seam problems in Welaka often stem from environmental stressors. Leaks are the most frequent complaint, manifesting as water stains inside the home or visible rust along the seam lines. This can occur if the sealant breaks down or if panels shift due to wind uplift during storms. Cracks might develop from metal fatigue, especially in older installations where thermal cycling causes micro-fractures. Separation or loosening of seams is another issue, particularly after events like Hurricane Matthew, which battered Florida in 2016 and highlighted vulnerabilities in coastal-inspired roofing. Debris accumulation, such as leaves from nearby oak trees, can trap moisture and accelerate corrosion. Early detection is key; ignoring these signs can lead to widespread damage, mold growth in humid Welaka attics, and structural concerns. Transitioning from identification to action, assessing the extent of the damage helps decide if a simple repair suffices.
Assessing the Damage
Before attempting any repair, a thorough inspection is essential. Start by visually examining the seam from the ground using binoculars, looking for gaps, discoloration, or bubbling sealant. For a closer look, safely access the roof—ideally on a calm day to avoid slips in Welaka’s frequent rains. Use a moisture meter to check for hidden leaks without invasive probing. Minor damage, like a small tear or sealant failure, can often be fixed on-site, preserving the panel. However, if the seam is extensively corroded or the panel itself is warped, a full swap might be inevitable to prevent ongoing issues. Document the damage with photos for insurance purposes, especially in a storm-vulnerable area like Welaka. This evaluation not only informs your repair strategy but also ensures you’re not overlooking interconnected problems, such as flashing issues around chimneys or vents. With assessment complete, let’s delve into the repair options.
Repair Methods Without Full Panel Swap
Fortunately, many seam repairs don’t require replacing entire panels. One effective method is resealing, where deteriorated caulk is removed and replaced with high-quality, UV-resistant butyl or silicone sealant designed for metal roofs. This approach works well for minor leaks in standing seams. For mechanical seams that have loosened, using a hand seamer tool to recrimp the edges can restore the watertight bond without disassembly. Patching with metal repair tape or self-adhering membranes offers a quick fix for small punctures, bridging gaps until a more permanent solution. In cases of corrosion, sanding down affected areas and applying a metal primer followed by touch-up paint can prevent further spread. These techniques are particularly suited to Welaka’s climate, where rapid repairs during dry spells can mitigate hurricane season risks. However, success depends on proper execution, so gathering the right tools is the next logical step.
Tools and Materials Needed
To tackle a seam repair effectively, equip yourself with essential items. Basic tools include a ladder for safe access, tin snips or aviation cutters for trimming patches, and a caulking gun for precise sealant application. A seam roller or crimping tool is invaluable for mechanical adjustments, ensuring even pressure without damaging the metal. Protective gear—gloves, safety glasses, and non-slip shoes—is non-negotiable, given the roof’s steep pitch and Welaka’s slippery moss buildup. Materials-wise, opt for marine-grade sealants to withstand humidity, along with matching metal patches if needed, galvanized screws for secure fastening, and a rust converter for corroded spots. Cleaners like isopropyl alcohol remove old residue without harming the finish. Budget around $50 to $200 for these supplies, far less than a panel replacement. Preparing your toolkit streamlines the process, allowing for a focused repair session that minimizes time on the roof.
Step-by-Step Repair Guide
Begin by cleaning the seam thoroughly: sweep away debris and wipe with a mild detergent solution to expose the true condition. If sealant is present, scrape it off gently with a putty knife to avoid scratching the metal. For a leak repair, apply a bead of fresh sealant along the seam, pressing panels together if separation exists, and smooth with a finger or tool for full coverage. In mechanical seams, position the seamer over the joint and roll firmly to recrimp, checking for uniformity. If patching a tear, cut a piece of metal or tape slightly larger than the damage, adhere it securely, and seal the edges. Allow drying time as per product instructions—usually 24 hours—before testing with a hose to simulate rain. For corrosion, after sanding, apply primer and let it cure, followed by paint matching your roof’s color. This methodical approach, tailored to Welaka’s conditions, can restore functionality efficiently. Yet, safety remains paramount throughout.
Safety Considerations
Repairing a roof demands caution, especially in Welaka’s variable weather. Always check forecasts to avoid working in rain or high winds, which could lead to falls—the leading cause of roof-related injuries. Secure your ladder on stable ground, away from trees that might sway, and use roof brackets or harnesses for added security on steeper slopes. Heat exhaustion is a risk during Florida summers, so hydrate and work in the cooler morning hours. If the damage is near edges or valleys, consider fall protection systems. Electrical hazards from nearby power lines or solar panels should be evaluated beforehand. While DIY repairs empower homeowners, recognizing limits prevents accidents; if the roof is over two stories or severely damaged, defer to experts. These precautions ensure a safe endeavor, paving the way for professional intervention when needed.
When to Call a Professional
Not all seam issues are DIY-friendly. If the damage spans multiple panels, involves structural shifts, or occurs in hard-to-reach areas like ridges, a licensed roofer in Welaka is advisable. Professionals bring specialized tools, like powered seamers, and warranties that DIY work might lack. In Florida, local codes require permits for significant repairs, and experts ensure compliance to avoid insurance denials post-storm. Costs range from $300 to $1,000 for targeted fixes, still economical compared to full swaps at $5,000 plus. Signs like persistent leaks after attempts or visible panel deformation warrant immediate pro help to avert escalation. By knowing when to step back, you protect your investment in a region where roof longevity directly impacts home value.
Conclusion
Yes, a Welaka homeowner can often repair a metal roof seam without a full panel swap, using accessible methods like resealing, recrimping, or patching to address common wear from the local climate. This not only saves money but also maintains your home’s defense against Florida’s relentless elements. However, success hinges on accurate assessment, proper tools, and unwavering safety. For complex cases, enlisting professionals ensures durable results. Regular maintenance, such as annual inspections, can prevent minor issues from becoming major headaches. By staying proactive, Welaka residents can enjoy the long-term benefits of their metal roofs, blending practicality with peace of mind.
Frequently Asked Questions
1. Can I repair a leaking metal roof seam myself if I’m not experienced? While basic resealing is manageable for handy homeowners, complex issues like extensive corrosion may require professional skills to avoid further damage.
2. What type of sealant is best for metal roof seams in Welaka’s humid climate? Butyl or polyurethane sealants are ideal, as they resist UV rays, moisture, and temperature fluctuations common in Florida.
3. How long does a seam repair typically last? With quality materials and proper application, repairs can endure 5-10 years, though regular inspections extend this in stormy areas like Welaka.
4. Is it safe to walk on a metal roof during repairs? Yes, if it’s in good condition and you wear soft-soled shoes to prevent slipping or denting; use caution on wet surfaces.
5. Will repairing a seam affect my roof’s warranty? DIY repairs might void manufacturer warranties, so check your policy or consult a pro for warranty-preserving fixes.
6. How do I prevent future seam damage on my metal roof? Clean gutters regularly, trim overhanging branches, and apply protective coatings annually to combat corrosion from Welaka’s environment.
7. What’s the cost difference between seam repair and full panel replacement? Seam repairs average $200-$800, while panel swaps can exceed $2,000 per section, making targeted fixes far more economical.
8. When should I involve insurance for a metal roof seam repair? If damage results from a covered event like a storm, file a claim; otherwise, minor wear is typically a homeowner responsibility.
Get Your Roof Fixed Today!
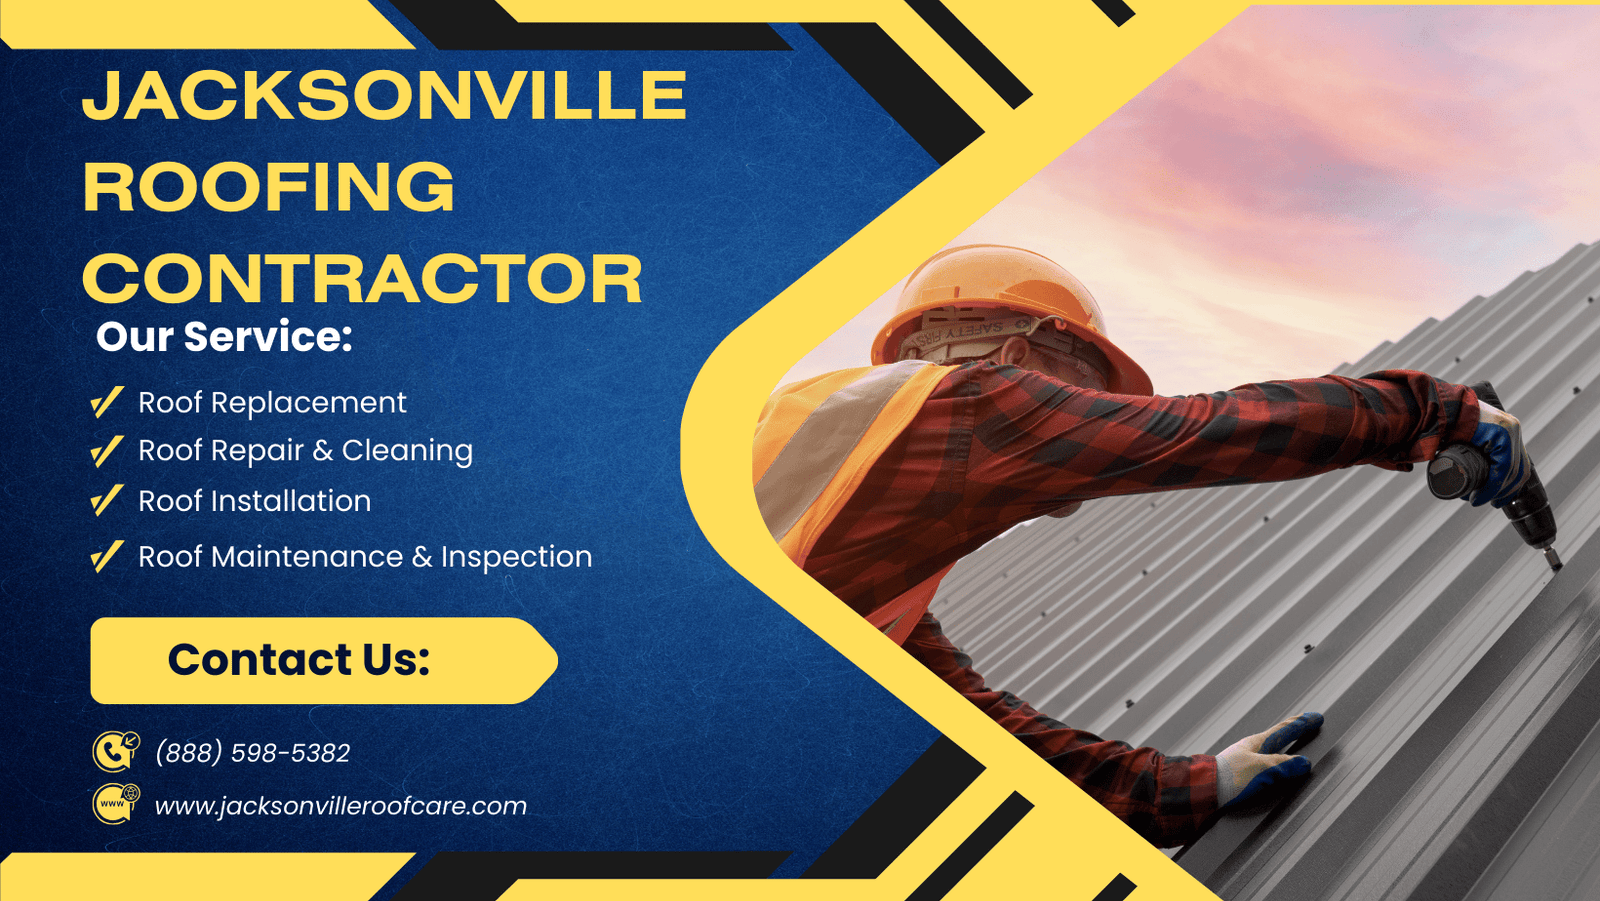
Ready to restore your roof’s protection? Dial (888) 598-5382 now for expert guidance. Prepare your ZIP code beforehand to connect with our closest service professionals efficiently.
| ZIP Code | Primary City/Area |
|---|---|
| 32003 | Fleming Island (Clay County) |
| 32009 | Bryceville (Nassau County) |
| 32011 | Callahan (Nassau County) |
| 32034 | Fernandina Beach (Nassau County) |
| 32040 | Glen St. Mary (Baker County) |
| 32043 | Green Cove Springs (Clay County) |
| 32063 | Macclenny (Baker County) |
| 32065 | Orange Park (Clay County) |
| 32068 | Middleburg (Clay County) |
| 32073 | Orange Park (Clay County) |
| 32081 | Ponte Vedra (St. Johns County) |
| 32082 | Ponte Vedra Beach (St. Johns County) |
| 32092 | St. Augustine / Nocatee (St. Johns County) |
| 32095 | St. Augustine (St. Johns County) |
| 32097 | Yulee (Nassau County) |
| 32202 | Downtown Jacksonville |
| 32204 | Riverside Jacksonville |
| 32205 | Avondale / Murray Hill Jacksonville |
| 32206 | Springfield Jacksonville |
| 32207 | San Marco Jacksonville |
| 32208 | Northside Jacksonville |
| 32209 | Northwest Jacksonville |
| 32210 | Westside Jacksonville |
| 32211 | Arlington Jacksonville |
| 32216 | Southside Jacksonville |
| 32217 | Beauclerc Jacksonville |
| 32218 | North Jacksonville |
| 32219 | Northwest Jacksonville |
| 32220 | West Jacksonville / Baldwin |
| 32221 | West Jacksonville |
| 32222 | West Jacksonville |
| 32223 | Mandarin Jacksonville |
| 32224 | Southside / Intracoastal Jacksonville |
| 32225 | East Jacksonville |
| 32226 | North Jacksonville |
| 32233 | Atlantic Beach |
| 32234 | Baldwin (Duval / Baker County) |
| 32244 | Westside Jacksonville |
| 32246 | Southside Jacksonville |
| 32250 | Jacksonville Beach |
| 32256 | Southside Jacksonville |
| 32257 | Mandarin / Southside Jacksonville |
| 32258 | South Jacksonville |
| 32259 | Fruit Cove / Julington Creek (St. Johns County) |
| 32266 | Neptune Beach |
| 32277 | Northside Jacksonville |
Last Updated on May 9, 2026 by JacksonvilleRoofCare